For the last part of my time capsule I decided to first start out sketching some potential scenes. I was having a hard time finding interesting revelations from whoever finds the time capsule. I was almost more interested in trying to predict what the world in 2145 would look like.
A rough sketch of potential scenes.
I’m not super confident in my drawing skills so I started looking online for comic creators to help me make something that would be enjoyable to read. I tried this site first but found the character editor wasn’t very good and you couldn’t edit their poses.
I was able to find the website Storyboardthat which turned out to be an awesome editor with just enough customization. I began building the scenes and working around some of the objects and backgrounds that they had available. It was honestly really fun to play around with and they give students a 14 day free trial so I could export everything.
I exported the final comic in multiple formats including a gif of the entire thing playing, I attached it at the bottom.
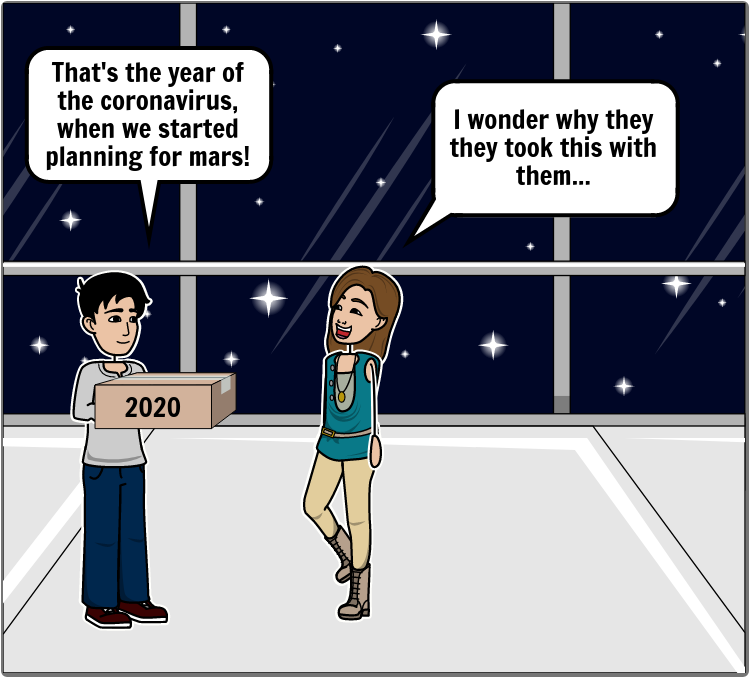
I decided to take this week to work on some of my physical computing skills in designing the enclosure for my time capsule. I happened to receive a mystery box of electronics that I thought would add a really fun element. Also I chose it because this box from Adafruit is something that represents myself and the time period we are in (electronics for hobbyists in 2020). I received a matrix portal in addition to a large 64×32 pixel display. I knew that it would be fun to attach the display to the enclosure. In researching what projects people made with these items, I decided I wanted to put “2020” along with a video of myself in Bitmoji form. Memojis are avatars that people create for use with Apple devices. I’m in a class called performative avatars and we’ve studied how this is another way people choose to represent themselves online. What could be a better way to introduce the viewer to myself than a pixel display I received this week displaying my memoji.
I hit many issues in creating this, but it started with setting up circuit python which was a new platform for me. Thanks to my past experience with Arduino I was able to work through the issues I encountered because I am used to updating libraries and troubleshooting. The thing that was the most confusing was a serial system they use called REPL, this allows you to run singular lines of code while the device is plugged in. In Arduino you usually run the program and can watch the serial monitor but not be able to interact with the device (hence stopping programs I was trying to run).
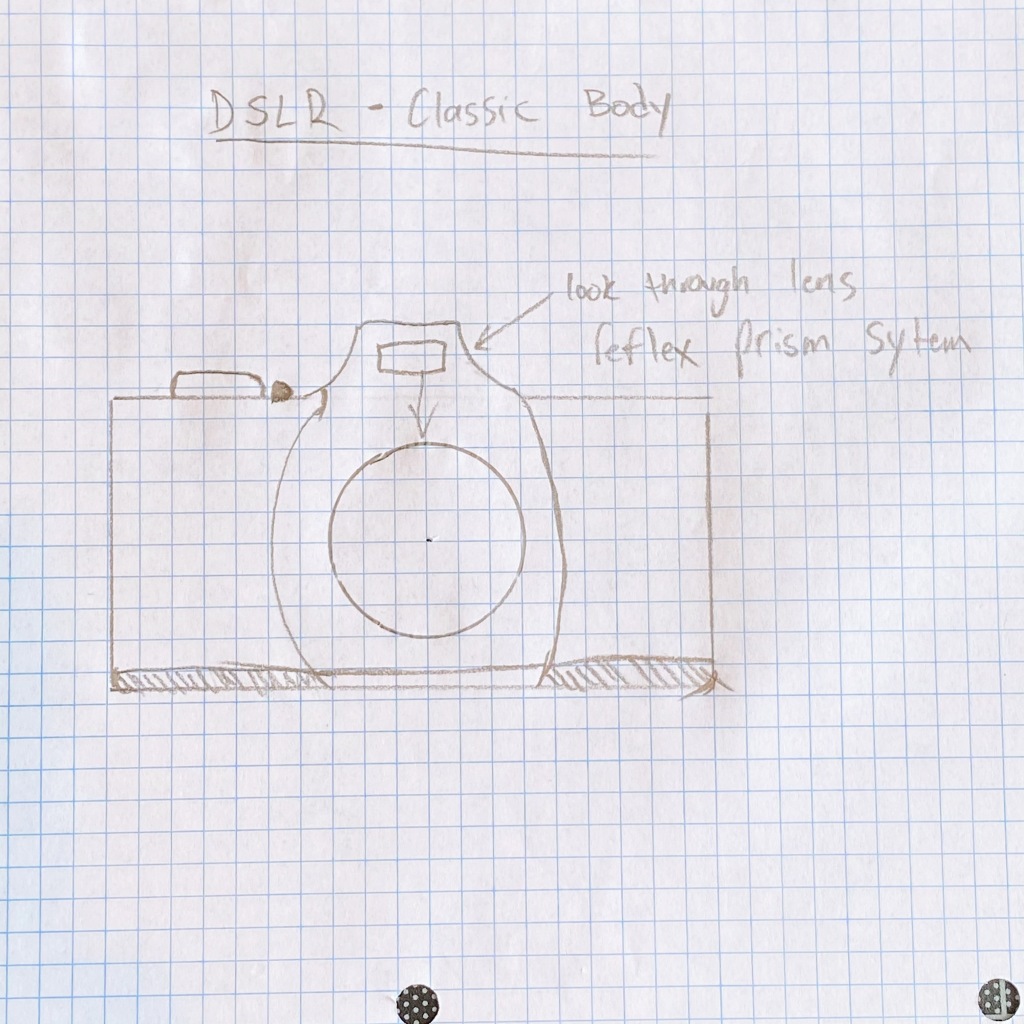
The acrylic diffuser for the display.
I first had to wire the matrix portal to the 64×32 pixel display and attach power.
Wiring of the matrix portal to the display.Testing that the wiring was correct with a sample project.I tested another sample project that connected to wifi to display the realtime bitcoin price.This is an example of the Mu editor running the bitcoin project.
In order to put the bitmoji of my face on the display, I needed to first record myself. I then exported and converted that video to an .mp4. This allowed me to edit it in Adobe Premiere Pro. Once in Adobe Premiere I made the sequence match the dimensions needed for the pixel display (64×32). I used a pixelated font to match the display as well.
The Memoji video I used in the display.
It was hard to tell exactly how it would look because it changes at different distances. This was also my first time working with such a small canvas size in video.
This was my first test but was harder to recognize and see the text.I oriented things vertically and it displayed much better.
I then needed to use a program called Aseprite, to turn my image sequence (I exported a JPG sequence from Premiere) into a vertical bit map. The vertical sprite sheet bitmap is what the circuit python template I was using already worked with. I did some tests to find the correct orientation.
I made guidelines to cut the space out for the display.I cut the hole for the display.I wrapped the box in old newspapers I had.
If I had more time I would try and add some audio, along with building a better enclosure to hide the electronics a bit. I would also look into ways to make it more protected.
For the short film assignment I wanted to play around with version 4.26 of Unreal Engine. I was very excited to find a brand new environment available for free on the marketplace that I could use as my setting for experimenting. I also wanted to bring back the old man with the cigar character.
When I tried to load in the pre built worlds I was running into space issues even though everything was on my separate drive, some things were constrained to my local disk. This along with the large textures kept crashing the site. Instead I began working with an HDR background texture which looked realistic and was fun to play with and I began working in the sequencer to create some shots. I was definitely a little in over my head, trying to animate the cine cameras and I’ve realized 24 fps looks quite bad coming out of unreal. I need to keep working on creating animations and spawning events.
The two online avatar systems I chose were the South Park Studios online creator and the Pop Yourself avatar creator on Funko.com.
They were both very fun, with the South Park one having the more offensive and weirder options while the funko product was cute and funny. It really is a difficult task to set up a successful avatar creator. How can we create a tool with enough agency to truly represent anyone who comes across it? It is quite an impossible task and makes me re-examine what an avatar truly is. As the PBS video “Controlling vs. “Being” your Avatar” brings up, are we creating a character or a true representation of ourselves? It makes me think of the video games like NBA 2K and others that allow you to take a photo of yourself so they can wrap those pixels around your avatar. That would be a better example of a truer representation of self. But what are the desired outcomes for your avatar? In what world will it live? The South Park avatar is very successful because all of the options are within the language of South Park characters. It was like re-living an episode of South Park choosing through all the different options available. There was enough abstraction that I did not feel it resembled me at all. Instead I chose things like the “New Jersey” skin tone which was a jab at bad New Jersey spray tans, as an Italian from New Jersey I thought it was funny. This kind of character building I find more interesting.
The Funko avatar creator also had quite a bit of abstraction as there weren’t that many options to choose from. I chose the 3D goggles as a student learning 3D environments and being able to add the cat was a nice touch. I believe the avatar creators with fewer options must allow the user to buy into the environment in order to care about the characters they are creating. South Park was definitely the more successful builder for this reason.
Discussion Questions:
Are we more empathic towards avatars that look like us? Is this a tactic used for engagement by game designers? In what context is that ethical or unethical?
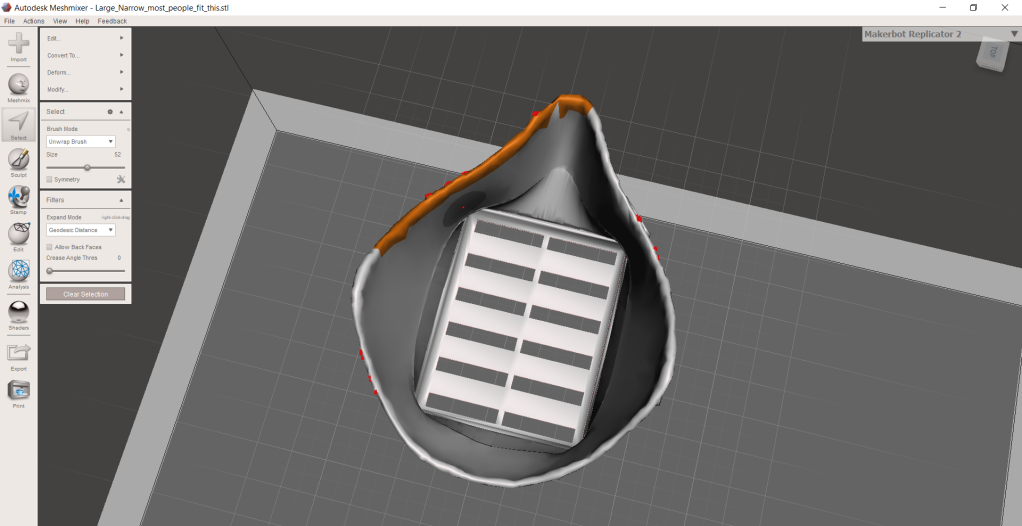
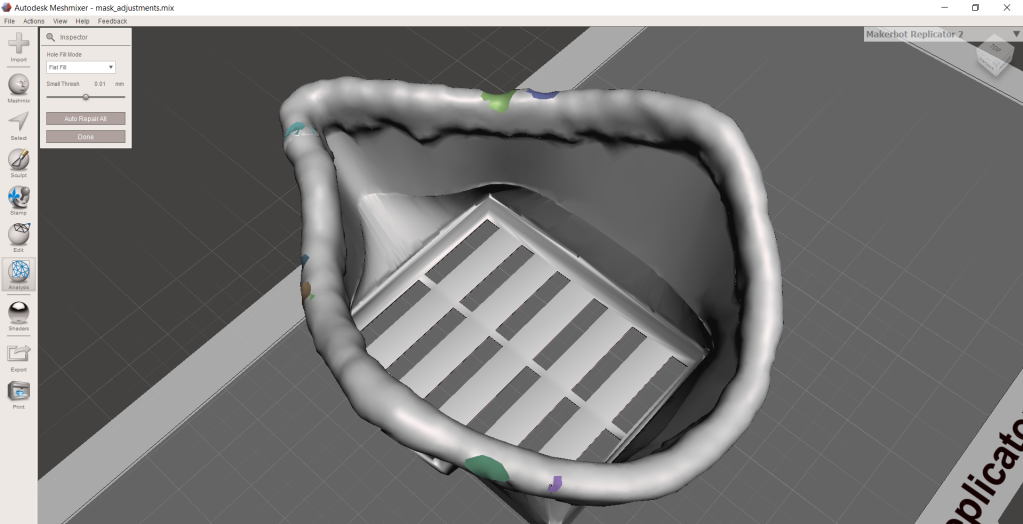
I am continuing to work around Chris Wiles’ design for a mask with a snap on filter. The rubber I wanted did not come in time so instead I decided to use Meshmixer to select the outer ring and create the same effect using the PLA design. It gave the mask a more aggressive look.
I created a photo series to document the time we are in and to use as a timestamp. These masks were created for doctors and front line workers as emergency backups, resorting to HVAC filters to breathe through.
I chose black and white as my canvas to show the isolating nature of quarantine. I used the mono-light function to achieve this effect.
Further developing the idea/imagining it in different scales.
Currently I want to make a midi controller that illuminates the relationship between pitches and water. In practical terms this will look be a device for adjusting and exploring the entire pitch spectrum. I want to do it in a way that can still be used in the music production pipeline, so I will be locking scale/key into the process.
Two big inspirations are the Roli Seaboard and the RC-20 plugin. The Roli seaboard gives access to all of the pitches outside of the traditional piano structure. When playing a note the user can move up and down to explore the pitches in between notes. This video also demonstrates how that sounds when playing a chord. I want to explore similar principles, but away from the piano. I want the sounds to feel like an ocean, explored through controlled movement.
The RC-20 plugin also demonstrates how exact pitches have their time and place, but often times our ear associates slight wobble, with a vintage texture. This is because analog devices like tape and vinyl have texture to them like a pitch wobble and added noise.
The things I want to experiment with most:
—Pitch modulation as exploration
–Added noise for texture
–Locking melodic scale while allowing for interesting/unique compositions
–Getting the wah effect of a guitar string
Practical interfaces I can utilize:
Pads
Knobs
Accelerometer
I’m really inspired by this project from Amanda Ghassaei where she uses an accelerometer and gyroscope to change notes.
Surfboard metaphor
Why not ride the audio wave with a surfboard? What if that surfboard had an accelerometer and gyro attached?
Let’s imagine the project in three scales/formats
Surfboard
The controller is a literal surfboard where the user modulates pitch with their movement and angle. There are hand controllers to change notes.
Physical Tape
If audio that has been printed on tape is suspended in the air, the user can pull it to adjust the sound. There is a direct link to the hardware and audio. This isn’t music creation as much as it is performance. How can one manipulate their movements to achieve what they want from the tape. Pulling it will adjust pitch and speed. The more it is stretched and used, the harsher it will sound, adding even more noise and texture. Eventually it will completely degrade, which emphasizes the physical nature of the medium.
Can digital audio degrade naturally? Can there be a link between real physical degradation and digital audio degradation/distortion.
Online Audio Manipulator
If this project was online as a tool, you could drop an audio file into the program. There will be an advanced audio visualizer that also lets you edit. I am inspired by the spectral display function in Adobe Audition where it shows you a heat map of frequencies and let’s you manipulate it. This is mainly used to erase spikes in the frequency spectrum cause by unexpected things while recording audio.
Adobe’s waveform display
Week 4 In Class
During class I’m going to set up an Arduino Nano with some push buttons to start prototyping the accelerometer feature/sending midi information to the computer.
For my final I built upon some of the work I’ve made this semester. I made a randomized sound looper, that changing uses the alphabet and a 10print operation to display whats currently playing.
When you press a key, a 9 second sound file I created will be triggered. In order to keep the sounds together, they do not play until the looper restarts. This is something I will improve on in further versions as it can be time consuming to always wait 9 seconds to hear changes to what is going on.
I built on my LetterToNum class and object definitions to attach letters to music files I imported.
I made all of the sounds in Presonus Studio One, at 107bpm. There are wurlitzer, drum, guitar, jazz organ, and bass tracks.